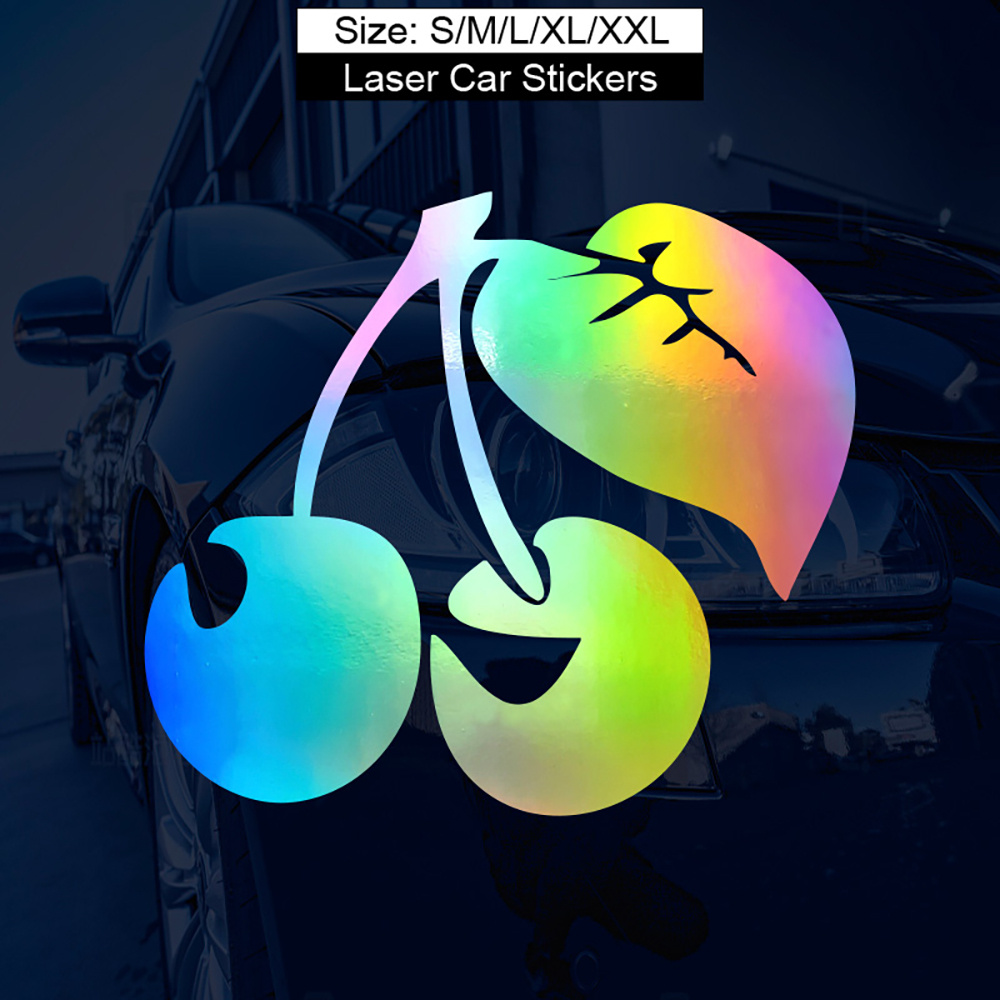
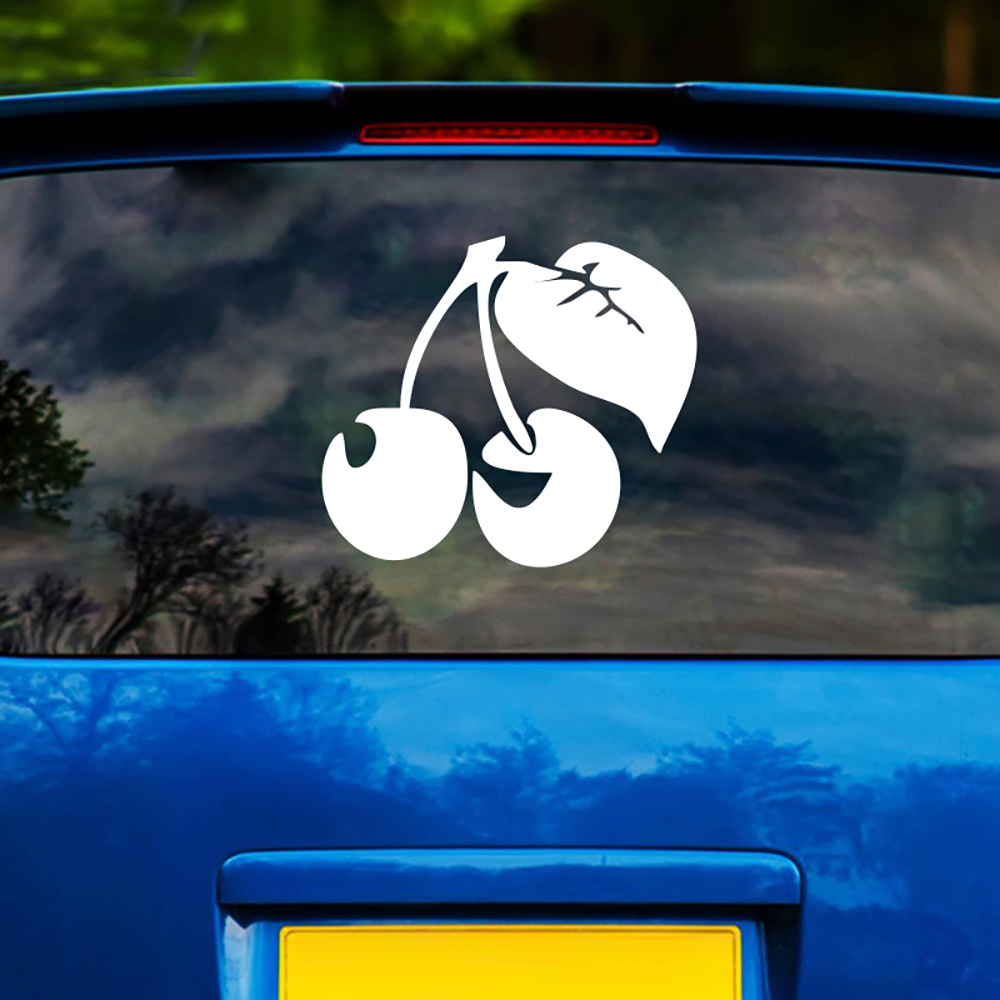
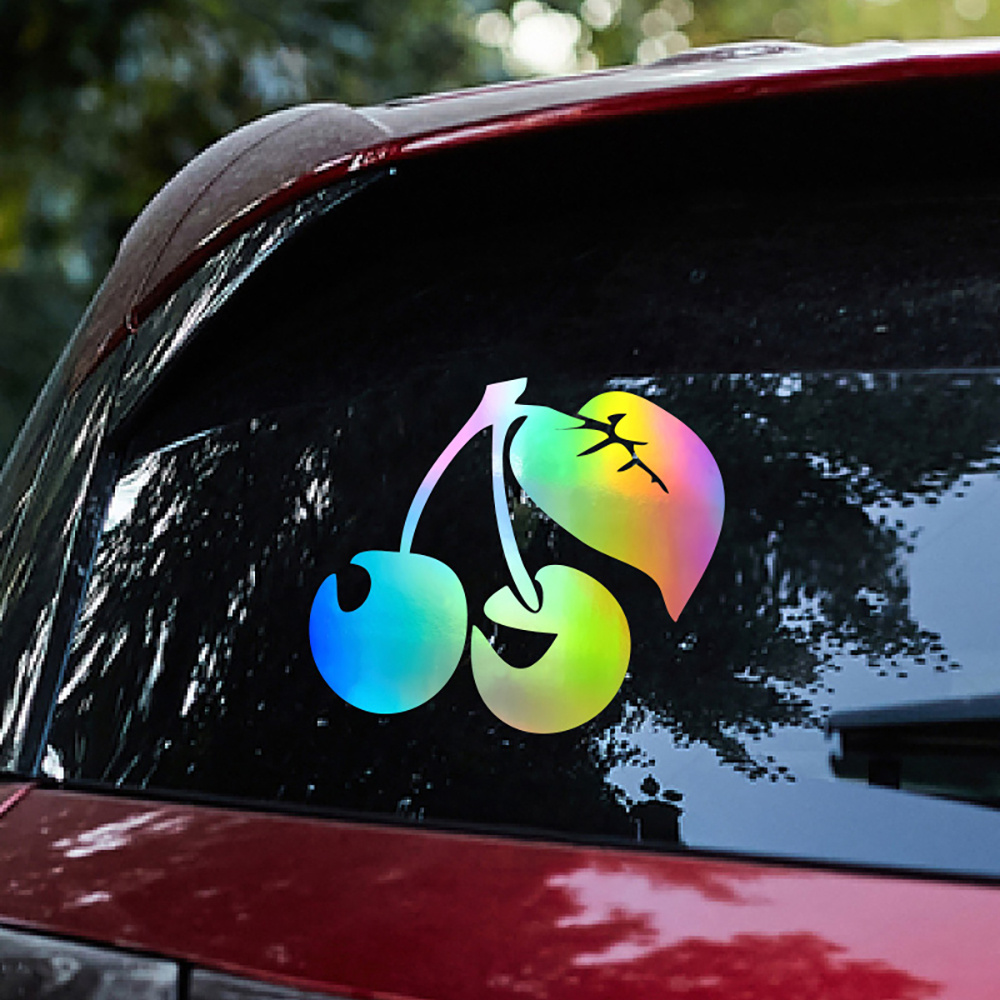
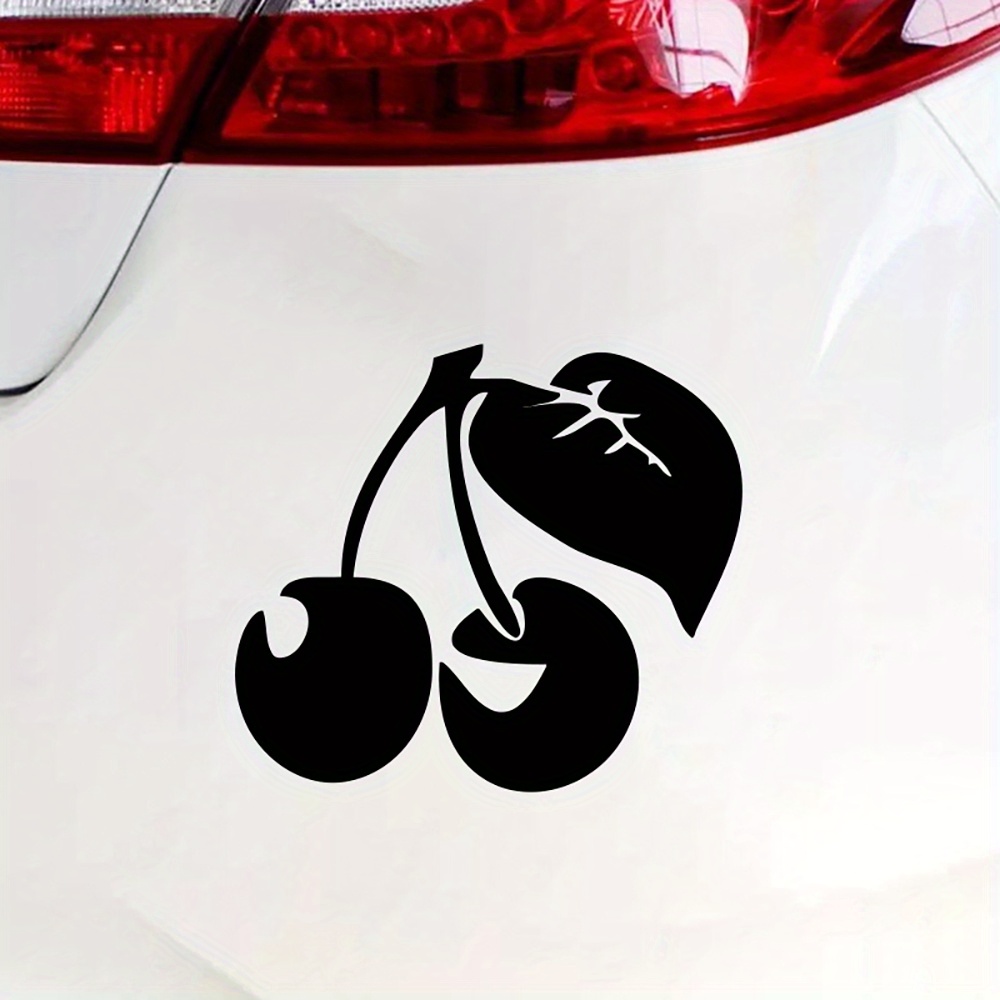
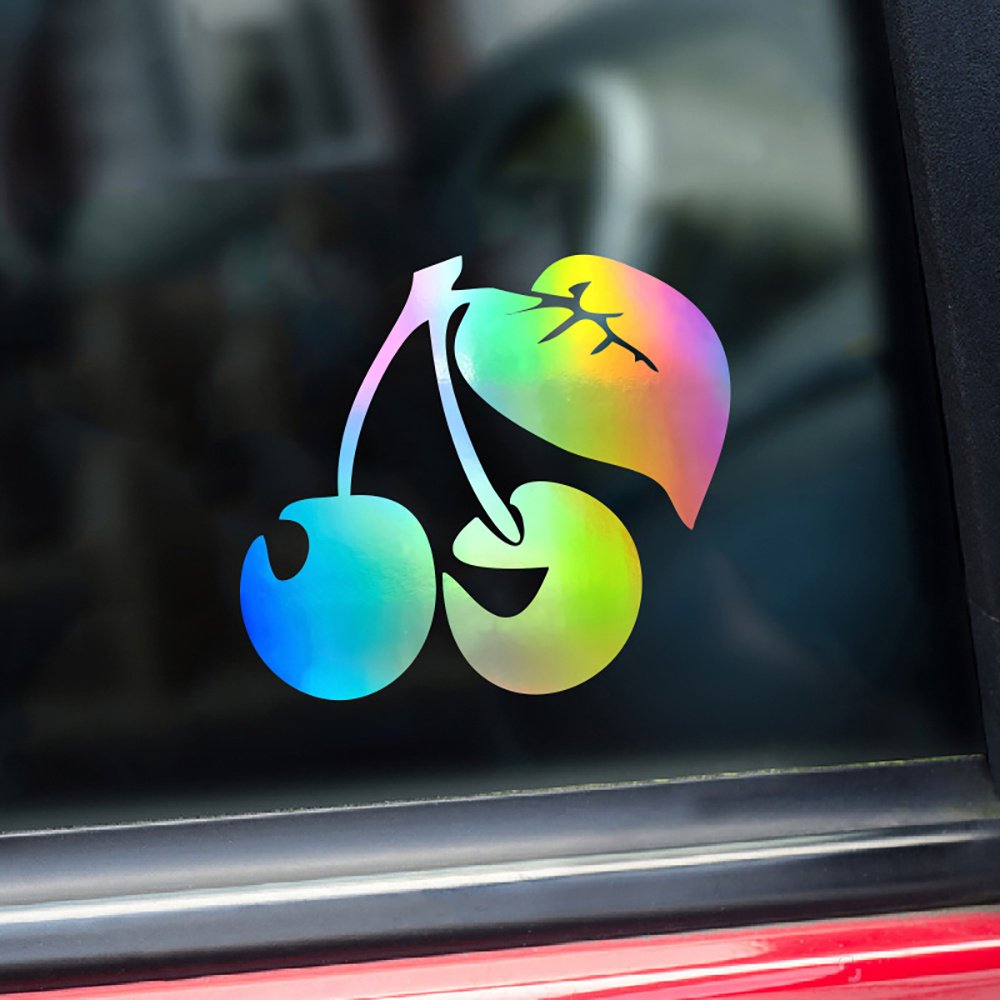
1pc Reflective Cherry Vinyl Car Decal, Durable Adhesive Automotive Sticker for Windows, Bumpers, Motorcycles, and Trucks Decoration
SPECIFICATIONS
Item ID: AR137434
Material: Vinyl
Enhance the appearance of your vehicle with a custom car decal, designed to give your car a stylish touch. A car badge will add an extra charm to your vehicle.
All-new item with perfect condition, made of PET reflective material for car stickers, can be used both inside and outside the car. Resistant to sunlight, strong adhesive, simple installation by peeling and pasting without causing any damage to the surface. Ideal for car windows, doors, tail, windshield, hood, cover, bumper, etc. Available in various sizes and colors as shown in the pictures. Each pack contains one piece.
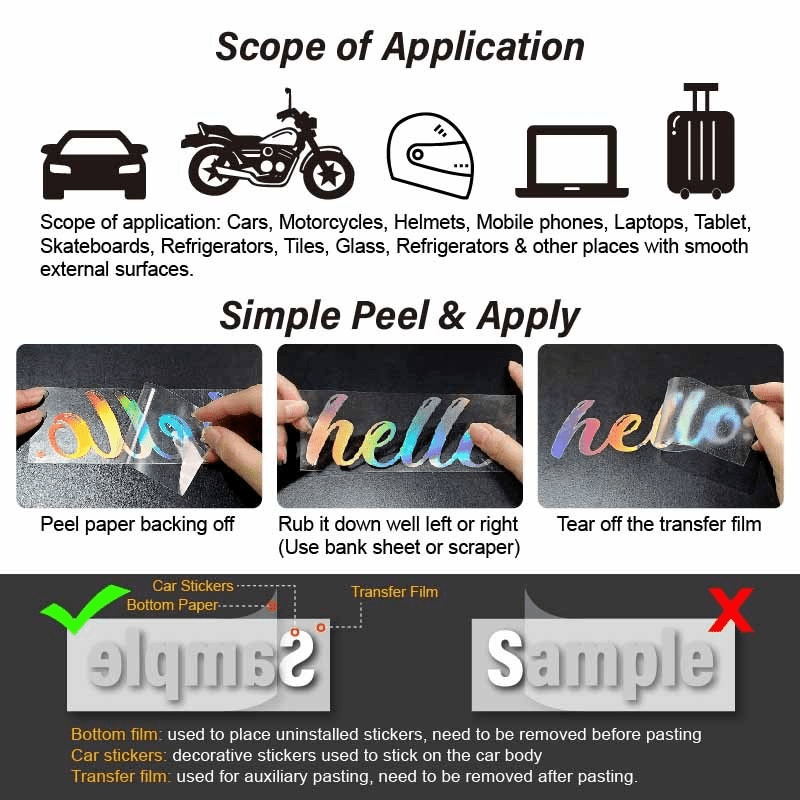
The sticker can be easily applied in just a few minutes. It consists of 3 parts: backing, sticker, and clear transfer film.
Steps for applying small car stickers (dry application method):
1. Clean the application area and ensure it is dry.
2. Peel off the backing paper from the back side (ensure the back side is facing up while peeling off the backing paper).
3. Align and secure one corner of the sticker.
4. Use a bank paper or scraper to smooth out any bubbles by scraping left and right.
5. Remove the transfer film.
6. Finished. Avoid washing your car for the next 48 hours.
Steps for applying large car decals (wet application method, can also be used for small car decals installation): 1. Gather tools: cloth, spray bottle, dish soap, squeegee or credit card. 2. Prepare solution: mix water and dish soap in a spray bottle (dish soap acts as a lubricant, use sparingly), keep it ready.
Step 3: Prepare the surface by cleaning it and spraying water evenly. Remove the backing paper from the sticker and spray the adhesive side with water. Step 4: Gently place the car sticker on the car surface and adjust it to the desired position. The detergent water will reduce the stickiness, allowing for easy adjustments.
Once the position is determined, use the center of the sticker as the starting point, and scrape evenly in all directions with a scraper. The goal is to remove excess water and prevent air bubbles from forming. Carefully lift the sticker, smooth it out again, and continue scraping. Check for air bubbles once more to ensure they are all removed. Allow the sticker to stand for 1-2 hours to dry the moisture, then remove the transfer film from the sticker surface.
7. Employ a sharp blade to create an incision on the door and fabric, then adhere it to the interior. 8. Completed. Refrain from cleaning your vehicle for 72 hours.
When removing the backing paper, make sure the backing paper is facing upwards and the transfer film is facing downwards. There may be some stickers left on the backing paper, which can be pressed onto the transfer film with your fingers. Avoid sticking the stickers together after removing the backing paper.
Wait at least 72 hours before washing the car after applying the sticker, as it may not have fully adhered yet. Using high-pressure water during car wash may cause it to come off. For those without installation experience, it is advisable to use the wet application method for a more secure installation.
Please seek assistance from an experienced car modification shop if you lack installation experience.